
Develop Web Applications Using Eclipse - Manual Build
Getting Started with Eclipse
- Go to the Eclipse download page http://www.eclipse.org/downloads/. Select the version Eclipse IDE for Java Developers (85 MB) to download the file eclipse-java-ganymede-win32.zip.
- Unzip the file eclipse-java-ganymede-win32.zip and extract to the directory C:\JavaEE\IDEs. Then our Eclipse installation directory is C:\JavaEE\IDEs\eclipse.
- Create a shortcut on your desktop.
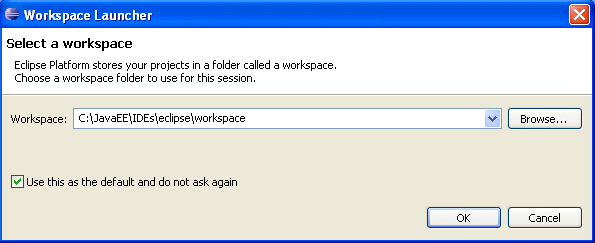
- Create a folder called workspace inside your Eclipse installation directory to hold your Eclipse projects. Here our workspace path is C:\JavaEE\IDEs\eclipse\workspace.
- Go to the Eclipse installation directory C:\JavaEE\IDEs\eclipse.
Right-click the Eclipse icon
- Watch the video clip (play
 ) for the whole procedure.
 - Double-click the Eclipse icon on your desktop. The first time you start the Eclipse, the Workspace Launcher window opens for you to select your default workspace.
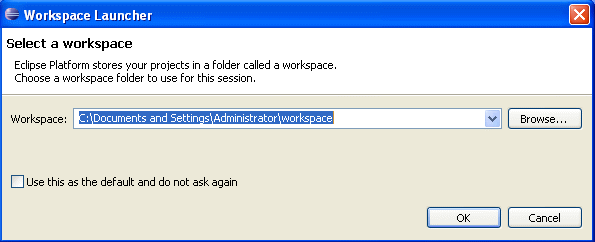
- Click the Browse button and navigate to the location of the workspace you choose. Here we choose C:\JavaEE\IDEs\eclipse\workspace.
- When the Eclipse window opens for the first time, the Welcome window displays.
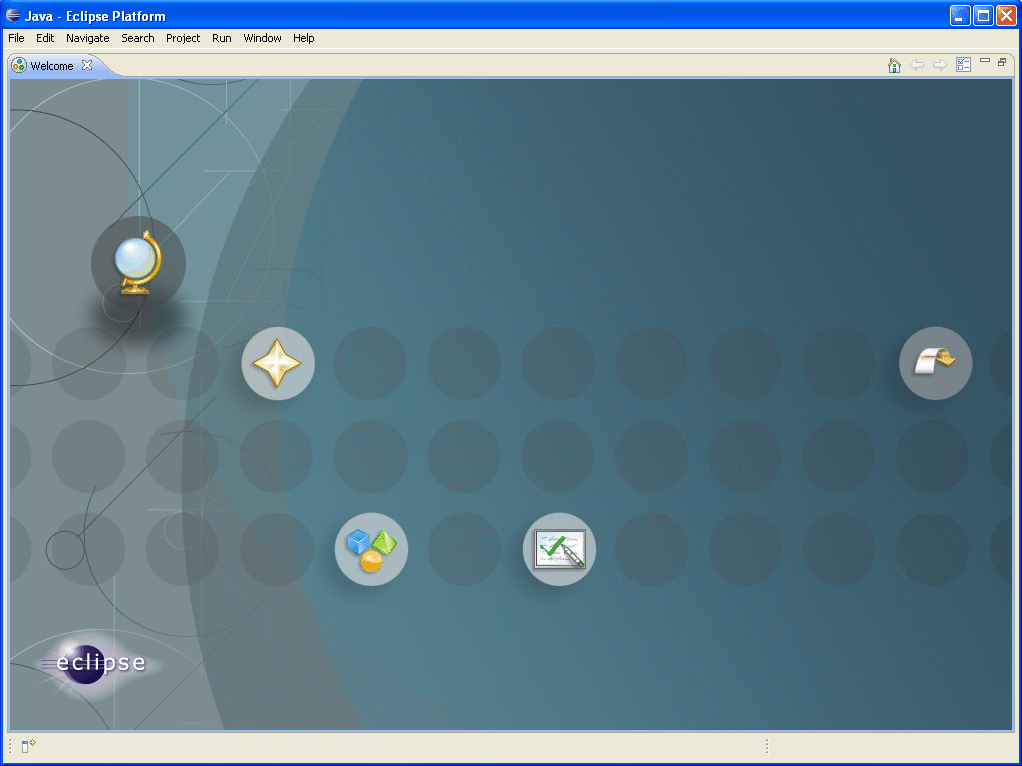
- Shutdown the Welcome window, then the default Java Perspective shows up. If you want to bring the Welcome window back later, you can go to the Help menu, and select Welcome.

- Select File ==> New ==> Project... The New Java Project window opens.
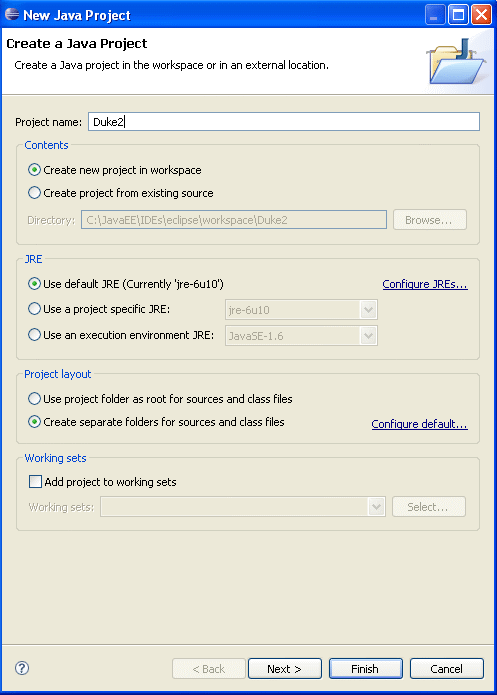
- Type Duke2 as the project name. Accept other settings, and click Next. A window for more Java settings opens.
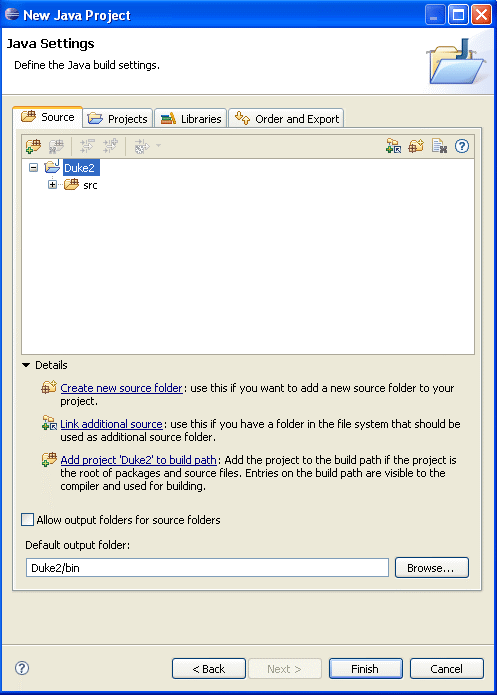
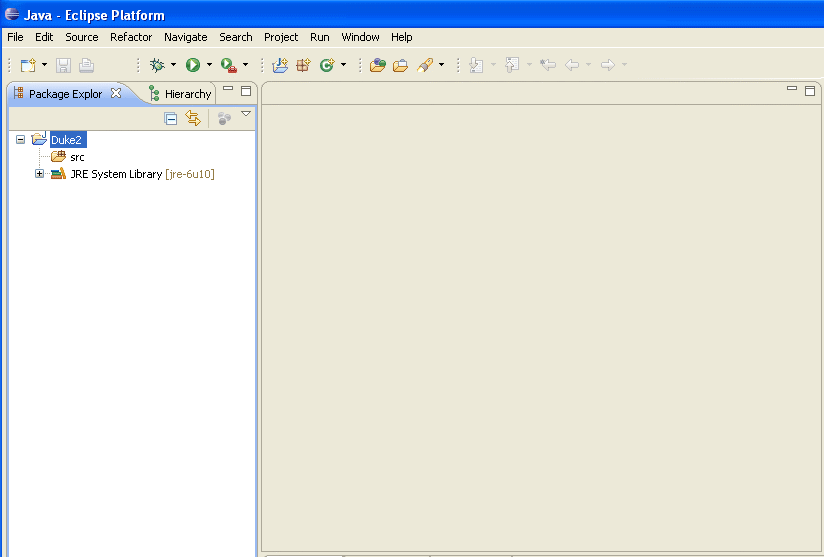
- Click Finish. A new Java project is created in Eclipse.
- Download the Duke2src.zip file and unzip it in some directory, so that our source files are in a directory like ...\Duke2src.
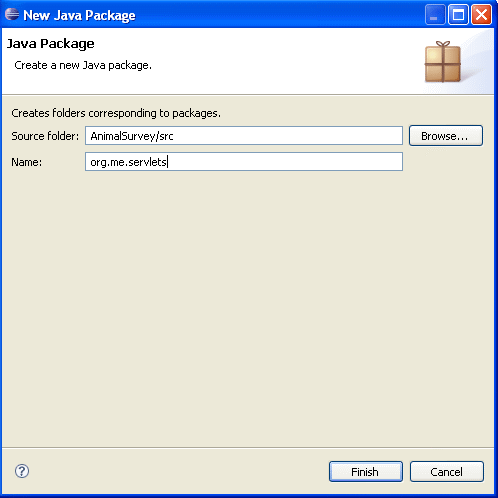
- Create a new package called servlets in Eclipse that matches the package used in the given source servlet files.
- Right-click the project Duke2 node and select New ==> Package.
The New Java Package window opens. Type servlets for the Name,
and click Finish.
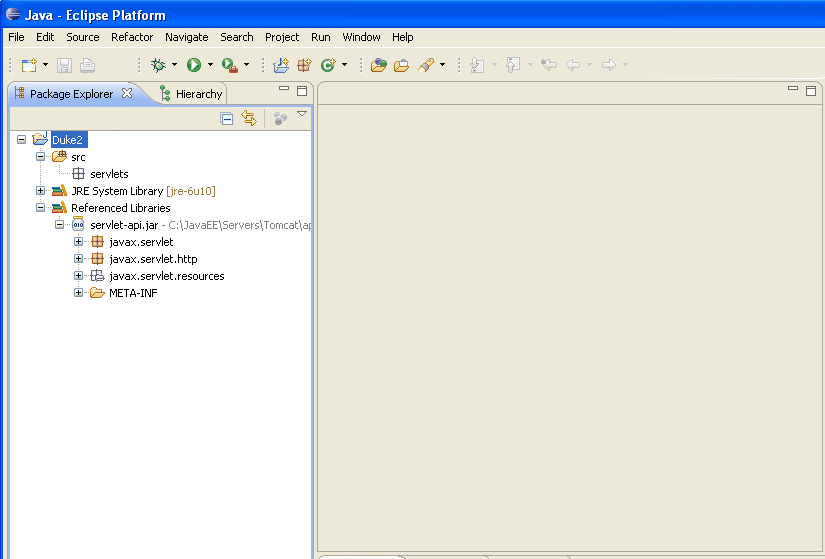
Any Java servlet needs to extend HttpServlet class, which is not a Java SE class. It is a Java EE class. So we need to import a JAR library file that contains all the classes for servlets. We can find this class C:\JavaEE\Servers\Tomcat\apache-tomcat-5.5.26\common\lib\servlet-api.jar in Tomcat.
- Right-click the project Duke2 node and select Properties at the bottom. The Properties window opens. Select Java Build Path in the left pane.
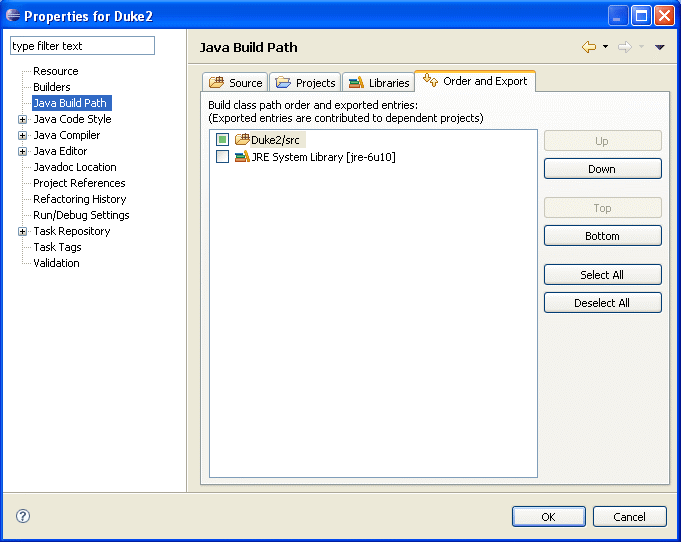
- Click the Libraries tab, and click the Add External JARs... button. Navigate to the directory C:\JavaEE\Servers\Tomcat\apache-tomcat-5.5.26\common\lib and select servlet-api.jar file.
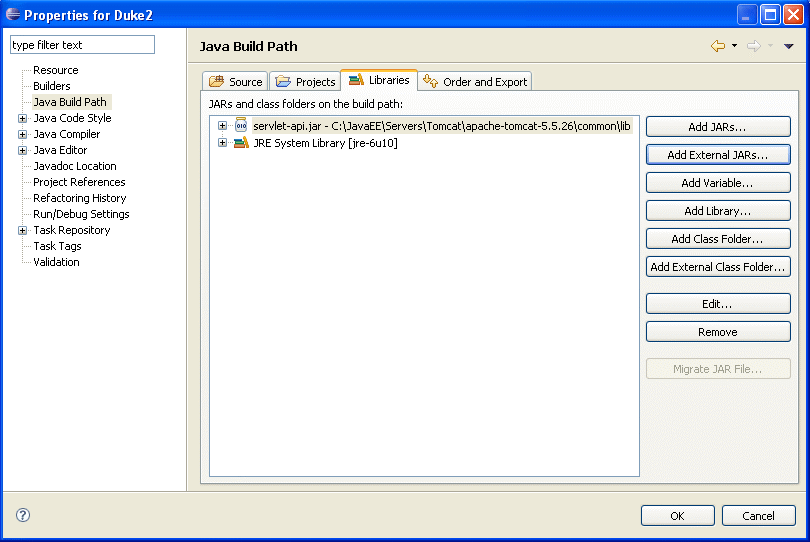
- Click OK. The library is added into the project.
- Copy GreetingServlet.java and ResponseServlet.java from the directory ...\Duke2src\servlets to the package servlets of the project Duke2 directory. This step can be done by the drag-and-drop feature of Eclipse.
- Since Build Automatically is set in Eclipse by default, our Java files are already compiled. Look at the folder C:\JavaEE\IDEs\eclipse\workspace\Duke2\bin\servlets. Two Java .class files are already there.
- See the video clip (play
) for the step. - Create a folder called Duke2 in a suitable location. I refer it as ...\Duke2.
- Copy the files duke.waving.gif and index.jsp from ...\Duke2Src to ...\Duke2.
- Create a subfolder WEB-INF under the ...\Duke2, and copy the file web.xml from ...\Duke2src to ...\Duke2\WEB-INF.
- Create a subfolder classes under the ...\Duke2\WEB-INF, and copy the folder C:\JavaEE\IDEs\eclipse\workspace\Duke2\bin\servlets that contains the compiled servlet class files to ...\Duke2\WEB-INF\classes. See the folder structure below.
Duke2
Duke2
Duke2\index.jsp
Duke2\duke.waving.gif
Duke2\WEB-INF
Duke2\WEB-INF\web.xml
Duke2\WEB-INF\classes
Duke2\WEB-INF\classes\servlets
Duke2\WEB-INF\classes\servlets\GreetingServlet.class
Duke2\WEB-INF\classes\servlets\ResponseServlet.class
Duke2
- Copy the folder Duke2 into the folder C:\JavaEE\Servers\Tomcat\apache-tomcat-5.5.26\webapps.
- Start the Tomcat.
- Visit the URL http://localhost:8080/Duke2
Exercise
Problem:- Create a web application that uses the source files in
SessionServlet.zip
to create a web component. Then you run it in Tomcat and see the result.
- You need to create your own configuration file
web.xml. - You need to configure the welcome file of your web application in the
web.xml. - You need to configure the servlet of your web application in the
web.xml. - You need to create a folder for your web application with a file structure that satisfies the servlet specification.